Glaucoma Enhanced Referral Module Guide
Glaucoma Enhanced Referral Service
Starting the Glaucoma Enhanced Referral Service
The below guide shows how to complete a Glaucoma Enhanced Referral Service(GERS) appointment for a patient.
The process begins in 'Manage Patients’, under the General menu, where the first booking can be recorded.
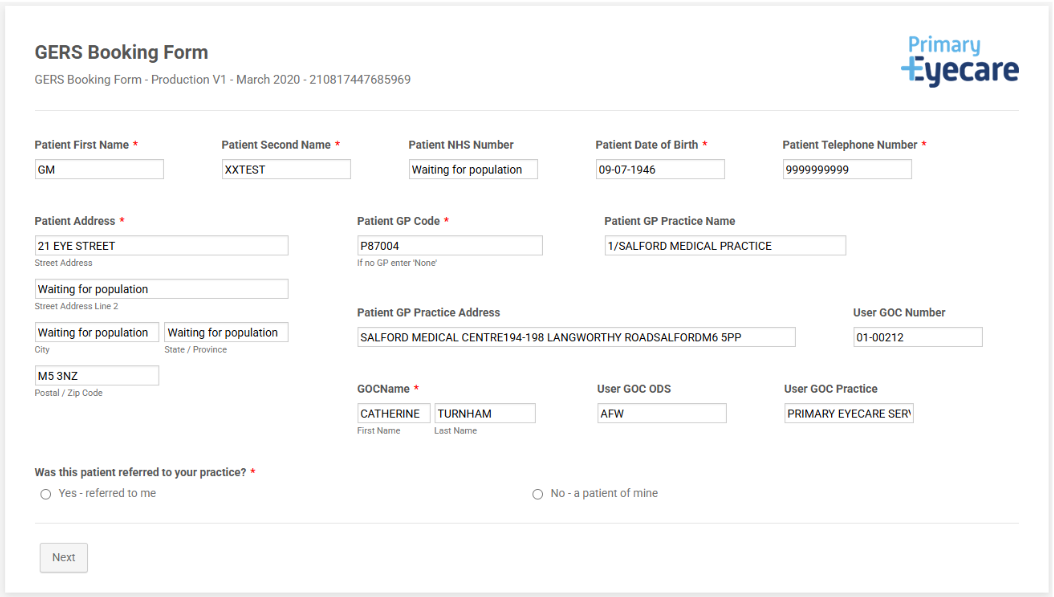
Having found the patient on the database, you will have the ability to select the GERS tab, adjacent to the patient’s name.
![]()
Ensure you have the correct patient and select if the patient was referred to your practice, or if it is a patient from your practice.
Next, complete the GERS booking form, by selecting the date the referral was received and the source of the referral from the drop-down menu. At this point, you need to then select if you have been able to appoint the patient or not.
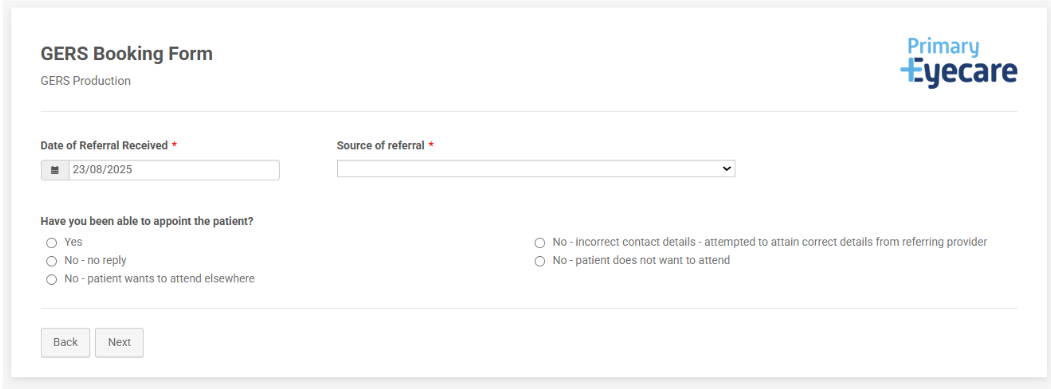
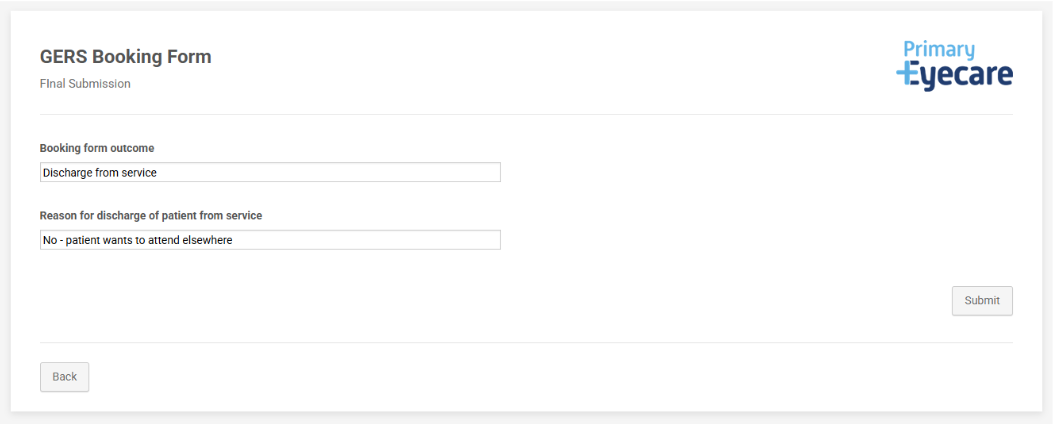
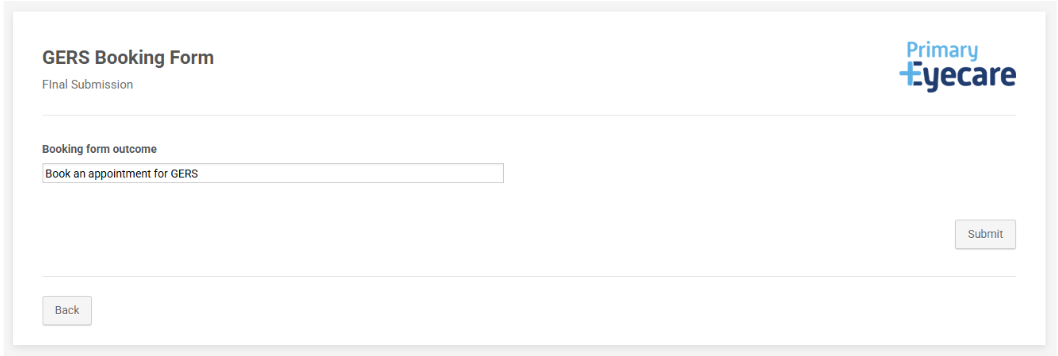
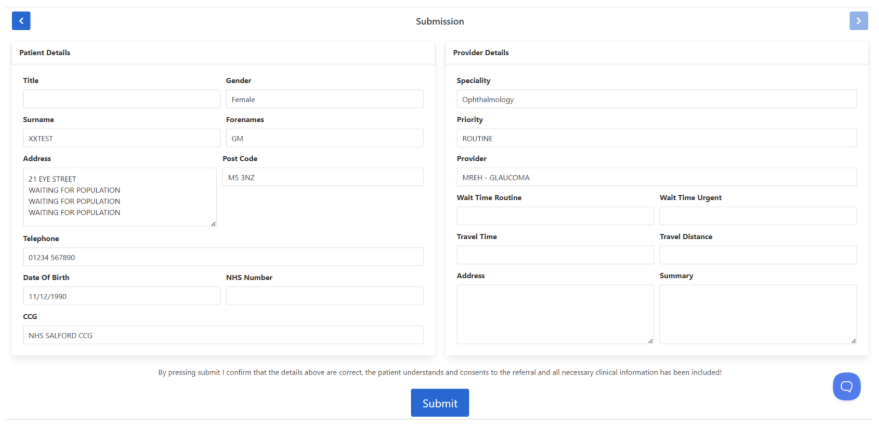
If you select ‘No’ regarding appointing the patient for any of the reasons listed above, this will then trigger a final submission page (example below) where the referral will be returned to the original referrer.
If you select ‘Yes’ to appointing the patient, you will then be prompted on the next page to complete the patients contact number and carer details if required. Finally, the consent for the ability for their record to be held and consent for communication with them via SMS, email, letter or phone. As well as the patient’s explicit consent to view their summary care record.
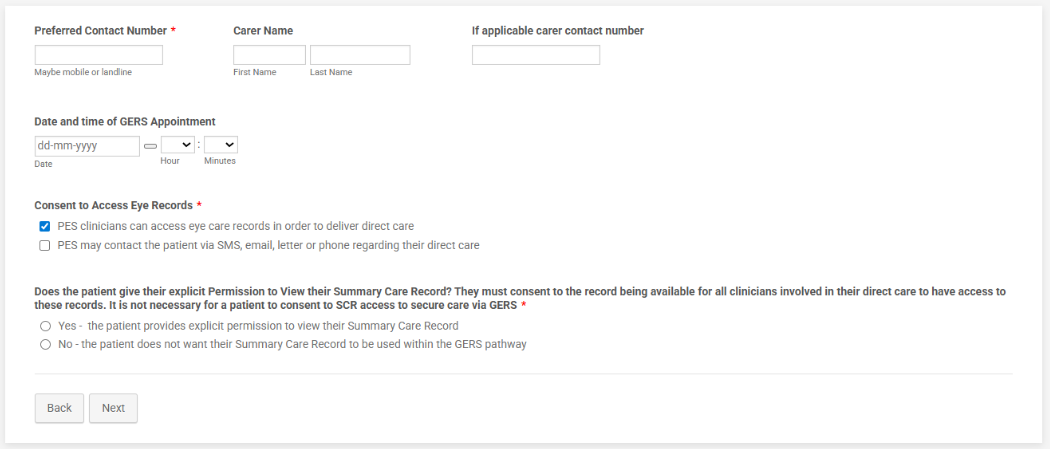
Once submitted, the episode will then be waiting on your referral management screen for your patient to attend their GERS appointment.
![]()
Carrying out the Glaucoma Enhanced Referral Service
The below steps will guide you through the completion of the clinical assessment for the Glaucoma Enhanced Referral Service (GERS).
Having found the patient on the referral management page, select the yellow GERS Appointment tab, adjacent to the patient’s name.
On the left-hand side are details relating to prior activity within the service. On the right-hand side, are the GERS Clinical Forms. The first page shows the patients demographic details including contact details. It is advisable to confirm these with the patient at the appointment to ensure accuracy.

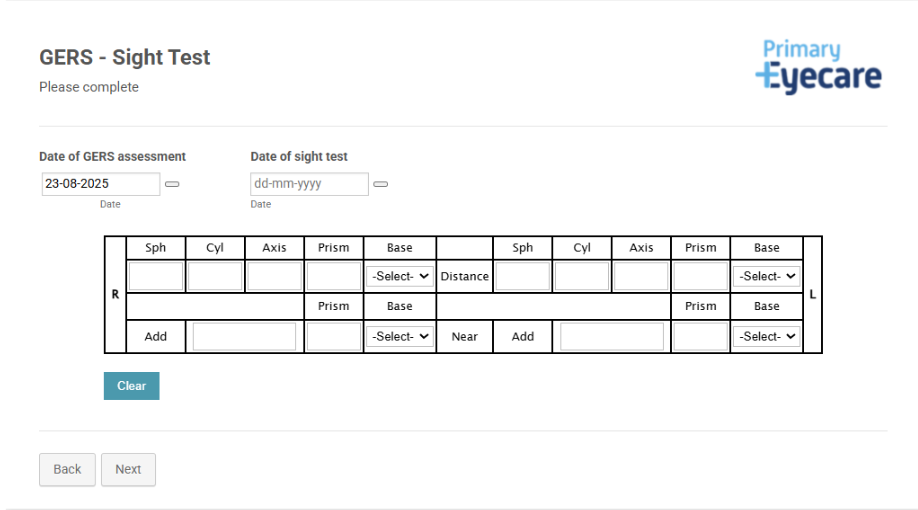
On the next page, complete the patient’s sight test date and refraction. The GERS assessment date will self-populate to today’s date. This can be changed if necessary.
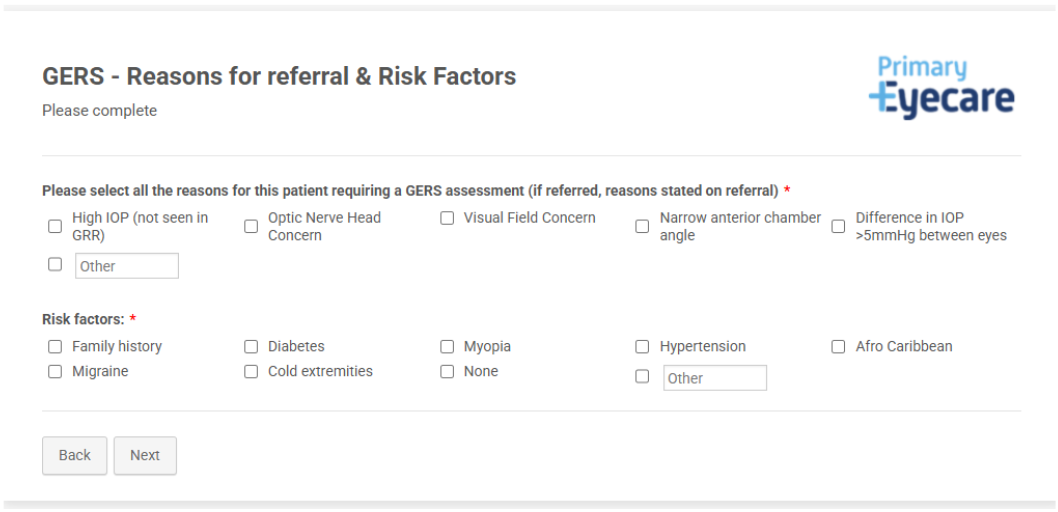
On the next page, complete the clinical reason for the GERS assessment. From your initial discussion with the patient, record if they have any risk factors for glaucoma by ticking the relevant boxes.
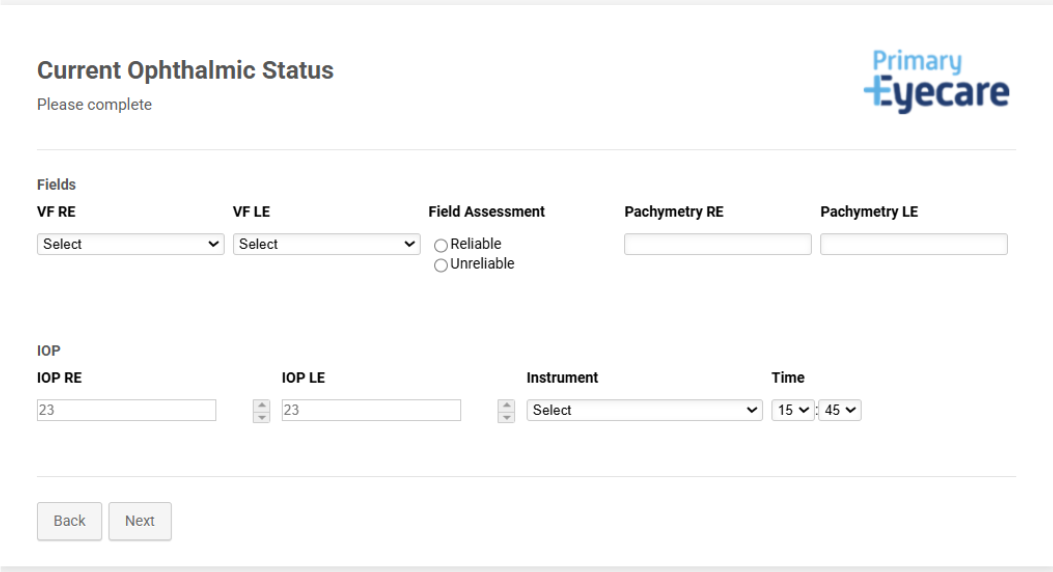
The next page gives you the opportunity to record the visual field results including reliability (either as ‘suspicious defect’, ‘normal’ or ‘not possible to assess’)
Pachymetry readings are optional in most services.
Intraocular Pressures (including instrumentation used and time) are essential.
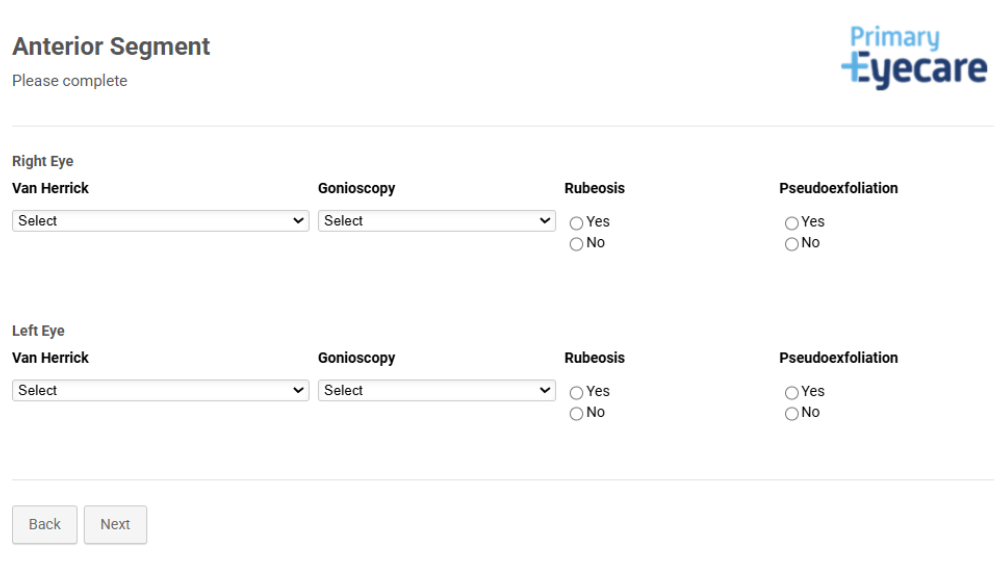
Following your anterior segment examination, the next page gives you the opportunity to record Van Herick and/or Gonioscopy, and if signs of rubeosis or pseudo-exfoliation were present in either eye.
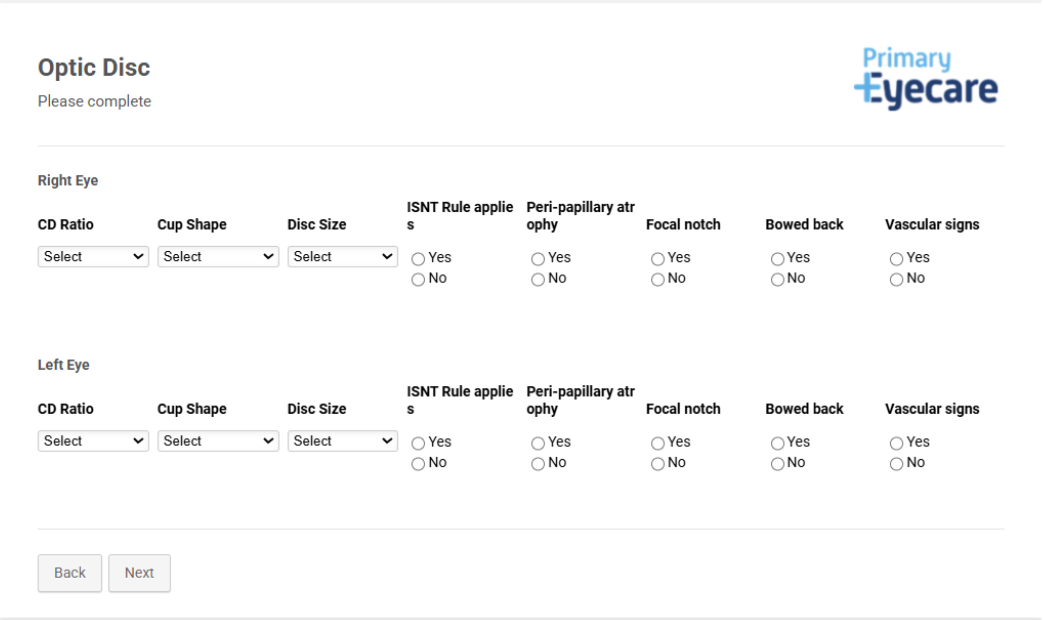
The next page gives you the opportunity to record your optic nerve assessment for both eyes. Features that can be recorded include CD Ratio, cup shape, disc size, ISNT rule applies and presence of PPA/focal notch/bowed back appearance/vascular signs.
The final page of the GERS assessment asks the optometrist to decide on the status for each eye. This will be either:
- Normal-no signs of OHT or Glaucoma
- OHT
- Glaucoma
- Repeat of VF or IOP required
There is also a free-type box to provide comments in relation to status assigned to each eye. The outcome of the assessment needs to be decided as either:
- Discharge to routine care
- Routine referral to Glaucoma Service
- Urgent referral to Glaucoma Service
- Referral to HES for non-glaucoma via GOS 18
- Follow up required due to high IOP or suspect VF (no other suspect glaucoma signs)’
The patient should then be invited to complete a PROMS survey.
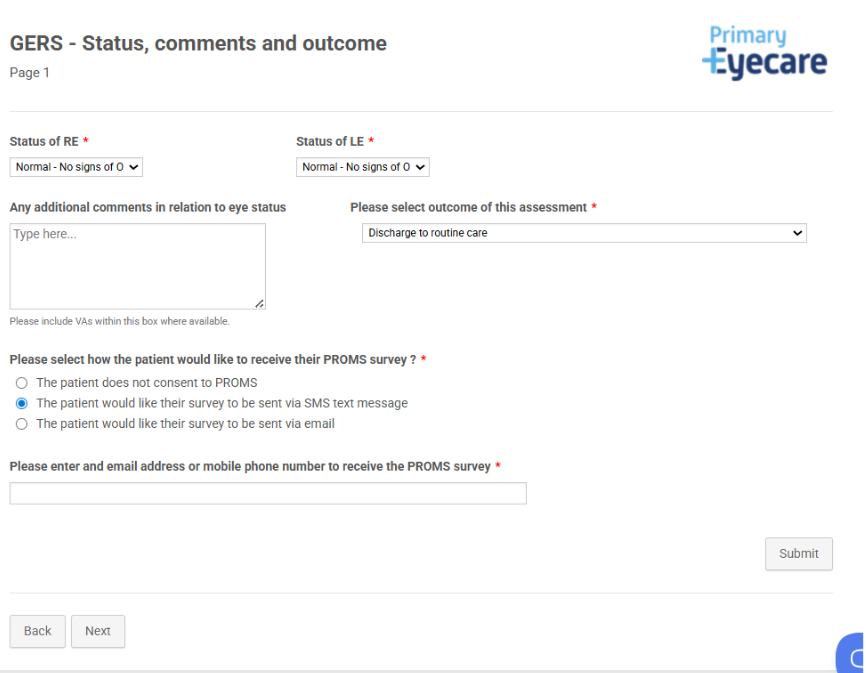
When making a referral, use the ‘Additional Comments’ to provide background and supportive information, including Visual Acuities for right and left eyes.
Sending the Glaucoma Enhanced Referral to HES
All referrals need to be actioned by clicking the red tab.
![]()
Check the patient demographic details and go through to the provider choice page.
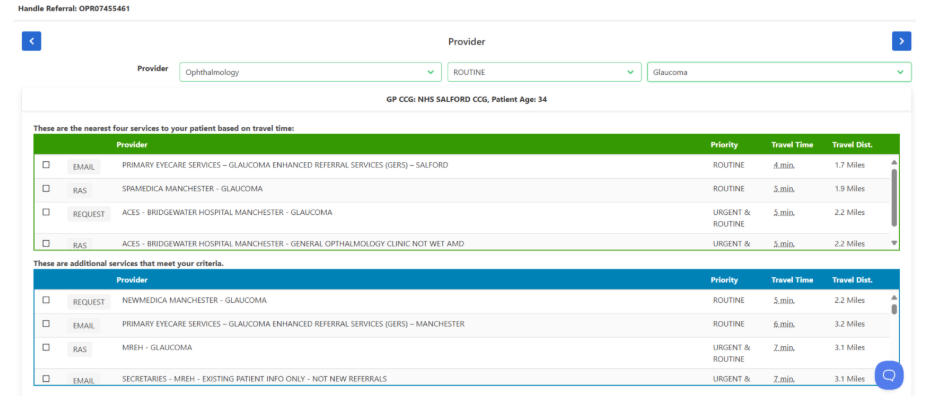
You will note it presents providers closest to the patient’s postcode who provide glaucoma services. Once a patient’s chosen provider is selected, on the next page you can add any further attachments or images if you believe useful. On the following page, select submit.
Once submitted, this will send the referral to the chosen provider for their glaucoma care.